Software is here: http://www.newarebattery.com/softwares/NEWARE_BTS7.6.0_2018_08_27_En.exe
This article will introduce a quick guide of how to start to use the Neware BST4000 series when you receive Neware’s battery tester just now.
There are several steps in the following part. Just follow it. Let’s begin now.
If you have followed the below tutorial carefully but still failed to make the connection between BTS4000 and your computer. Then this BTS4000 connection trouble-shooting might help you.
Step 1: Hardware installation
1. To the usual device, connect Computer(server), Middle machine and testers by using cable in order(Figure 1). Firstly, connect Computer(server) and Middle machine via TCP/IP port. Secondly, connect Testers and Middle machine via RS-485 port. Lastly, connect all Testers one by one via RS-485 port if you have more than one tester. To a high power device, you only need to connect the tester and Computer(server) via TCP/IP port because the middle machine is combined with the tester(Figure 2).
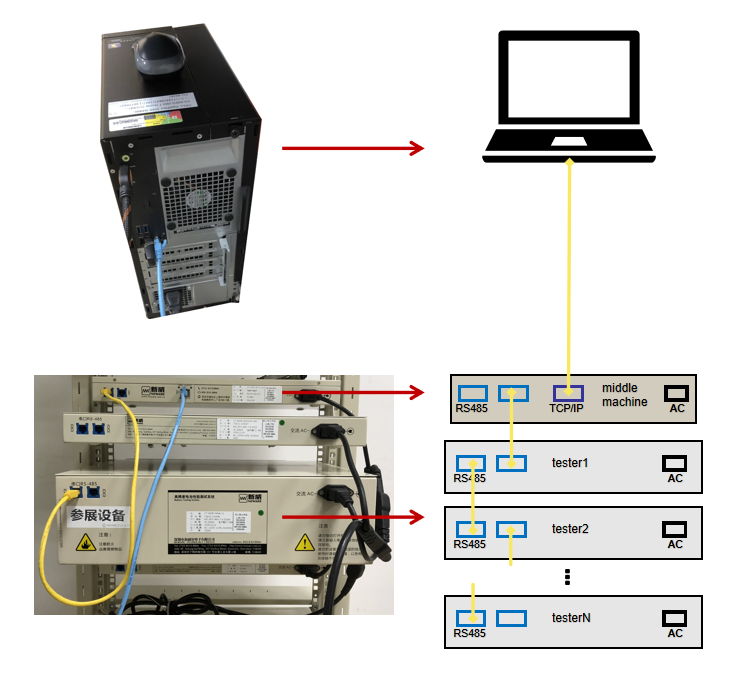
Figure 1: Physical connection of a computer, middle machine and tester
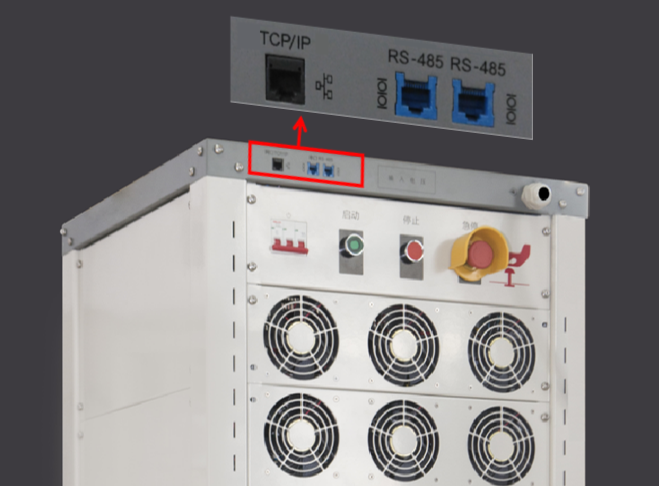
Figure 2: High power device
2. Connect battery, clamp and universal holder in order(Figure 3). Make Sure the polarities are matched correctly. Then, start up the computer, middle machine and testers. Figure 4 shows the explanation of the tester’s detail.
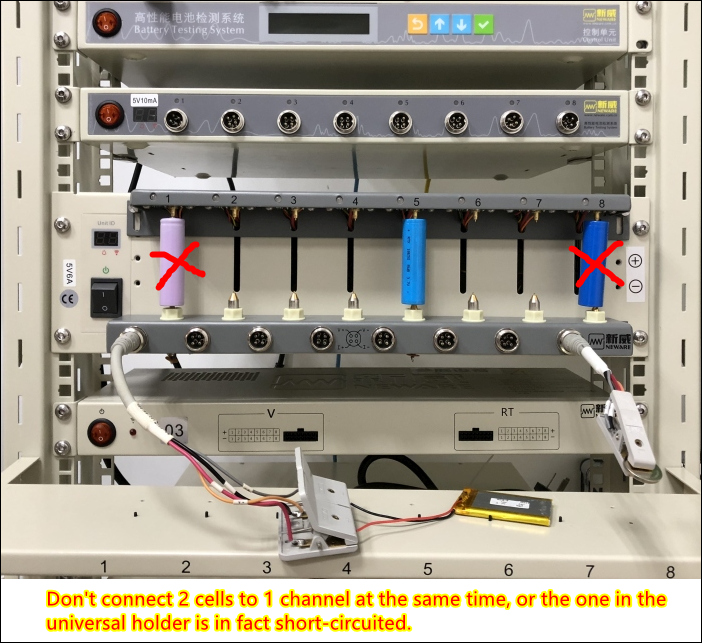
Figure 3: do not connect 2 batteries to 1 channel at the same time.
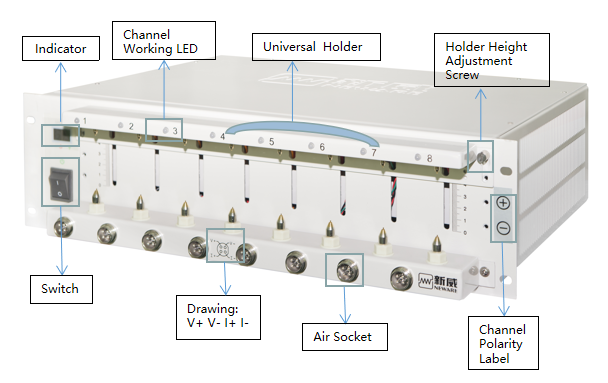
Figure 4: Detail of tester
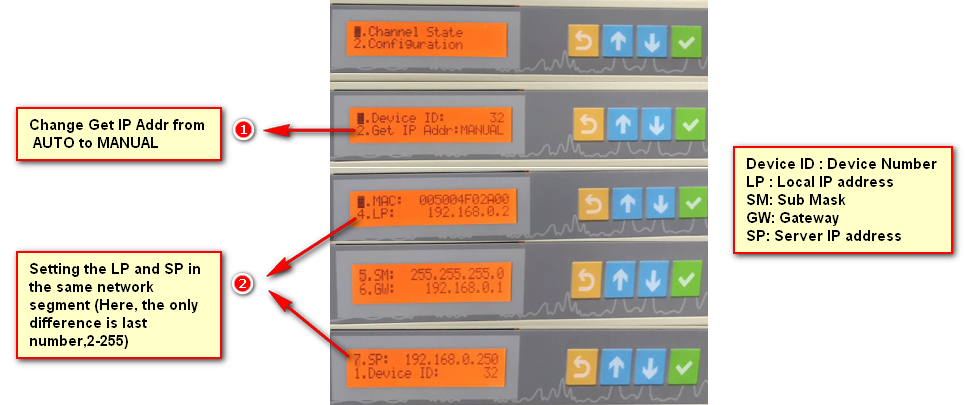
Step 2: Middle machine set-up
1. Enter the Configuration and change Get IP Address from AUTO to MANUAL.
2. Setting the LP and SP in the same network segment (Here, the only difference is the last number, you can set any number between 2-255).
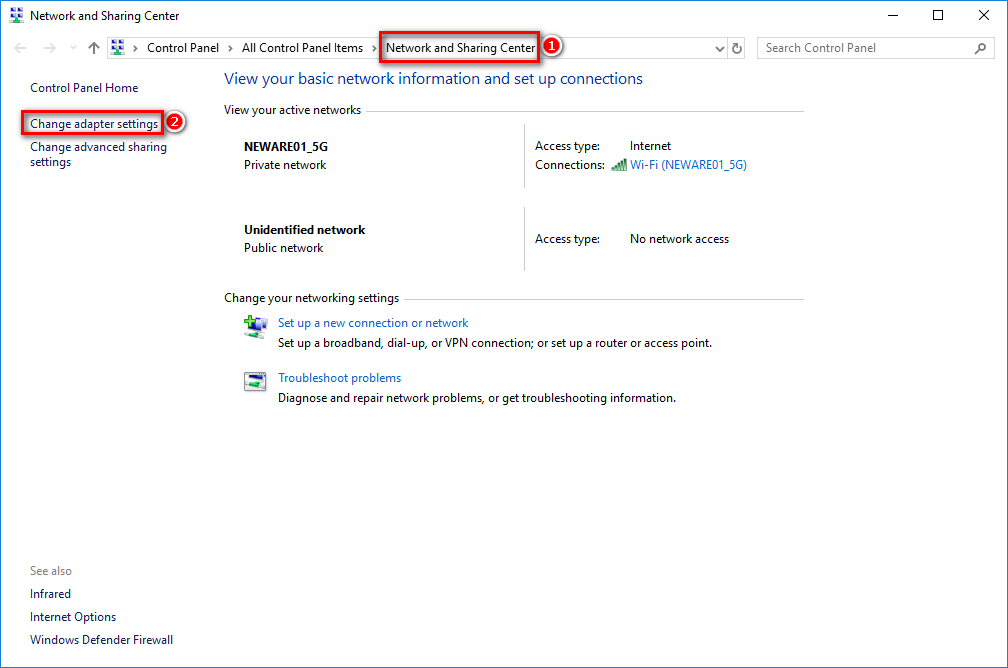
Step 3: Computer (Server) Set-up
1. Go to Network and Sharing Center, click Change adapter settings.
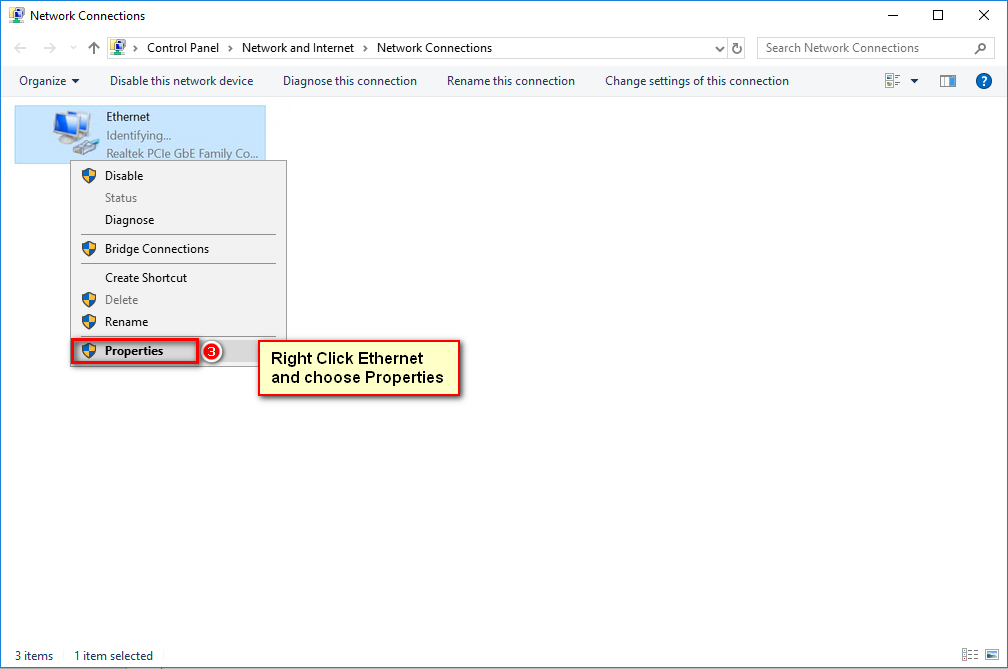
2. Right Click Local Connectivity and Choose Properties.
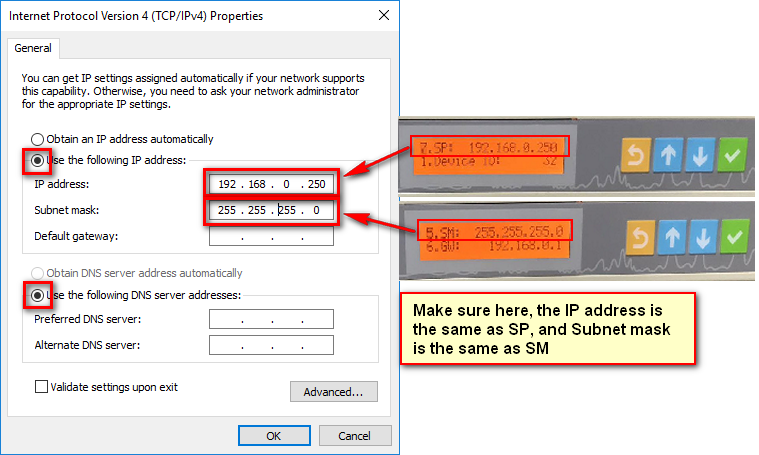
3. Double Click TCP/IPv4.

4. Set up the IP address.
Step 4: BTS software installation
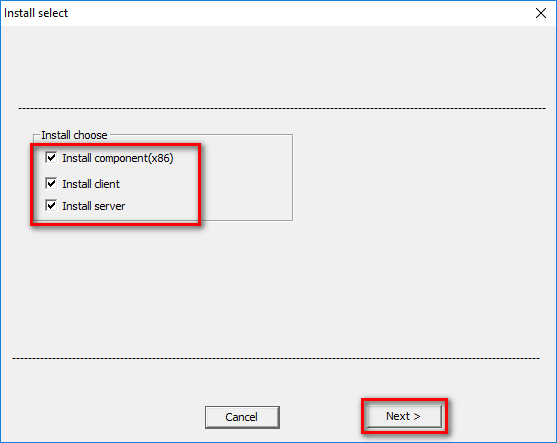
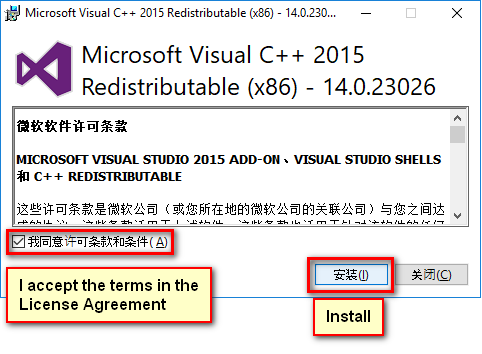
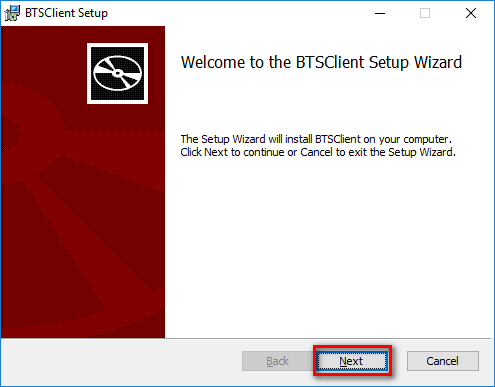
There are three parts needed to install in the installation: Microsoft Visual C++ 2015 Redistributable (x86), BTSClient, BTSServer.
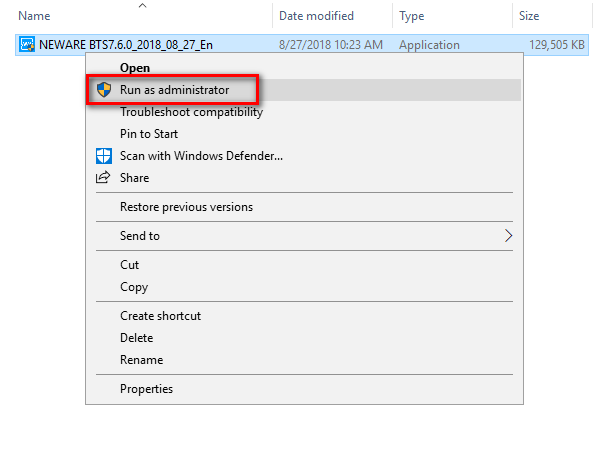
1. Download the installation package. Please click here: http://www.newarebattery.com/softwares/NEWARE_BTS7.6.0_2018_08_27_En.exe
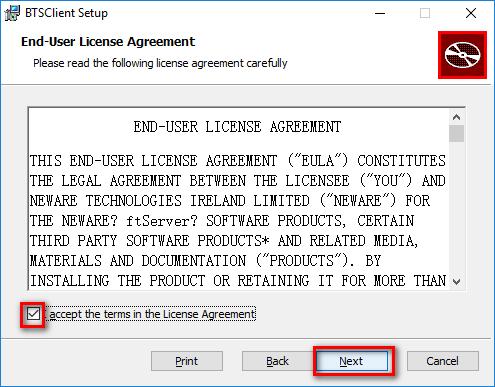
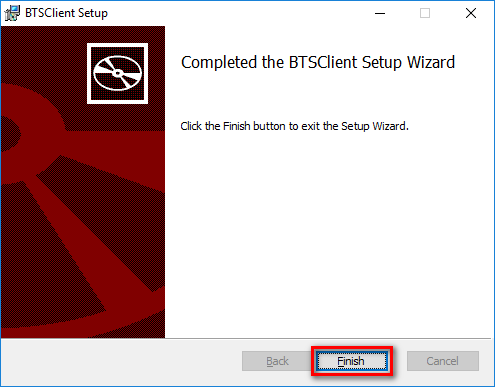
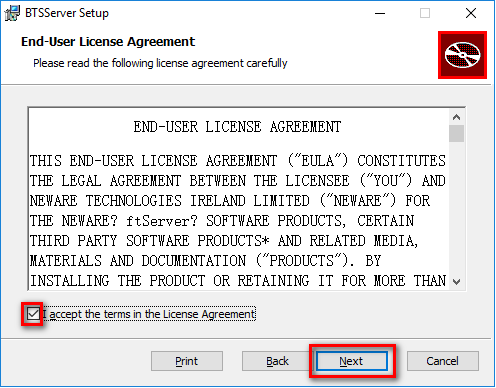
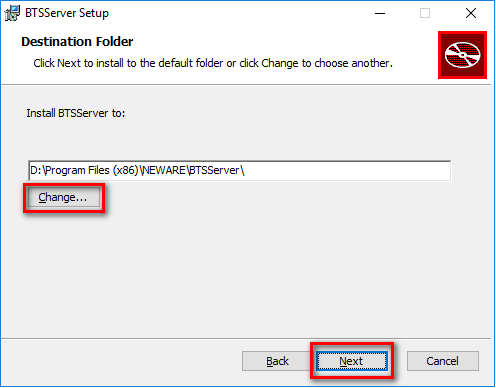
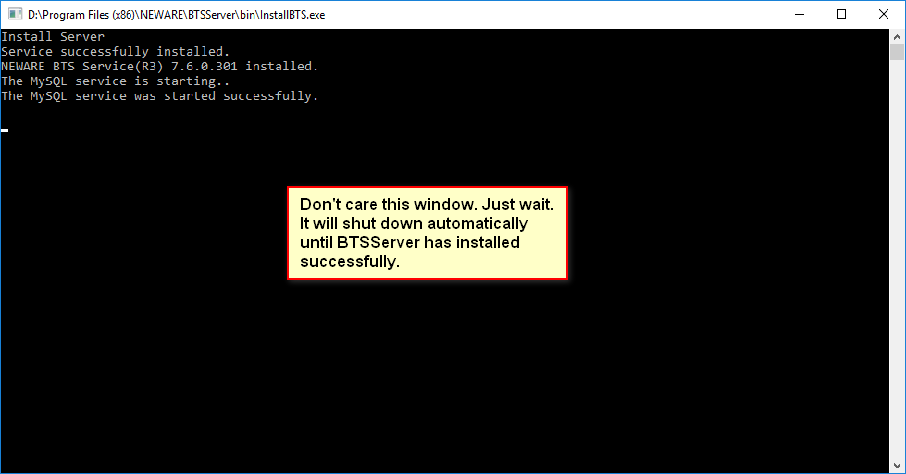
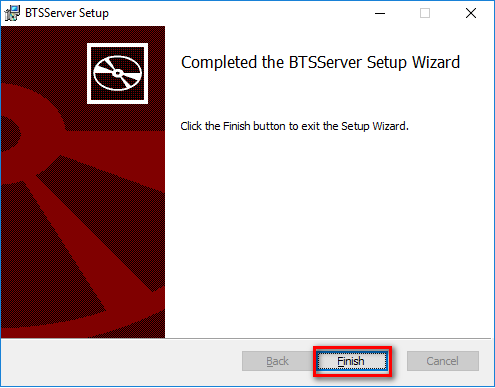
2. Detail of the installation is following here, just follow the guide.


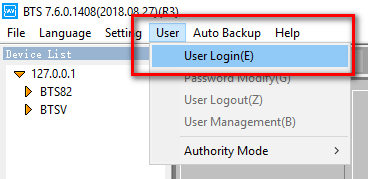
Step 5: Operating Instruction of BTSClient Sofware
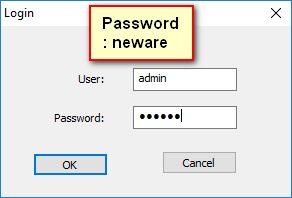
1. User Login. Name: admin; Password: neware.
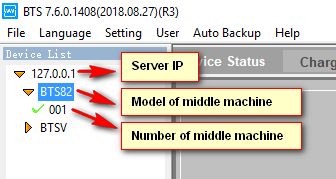
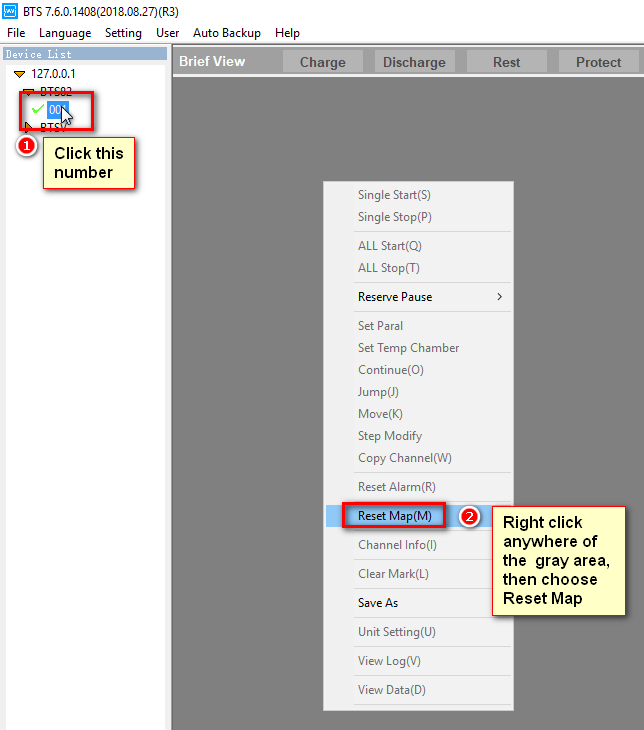
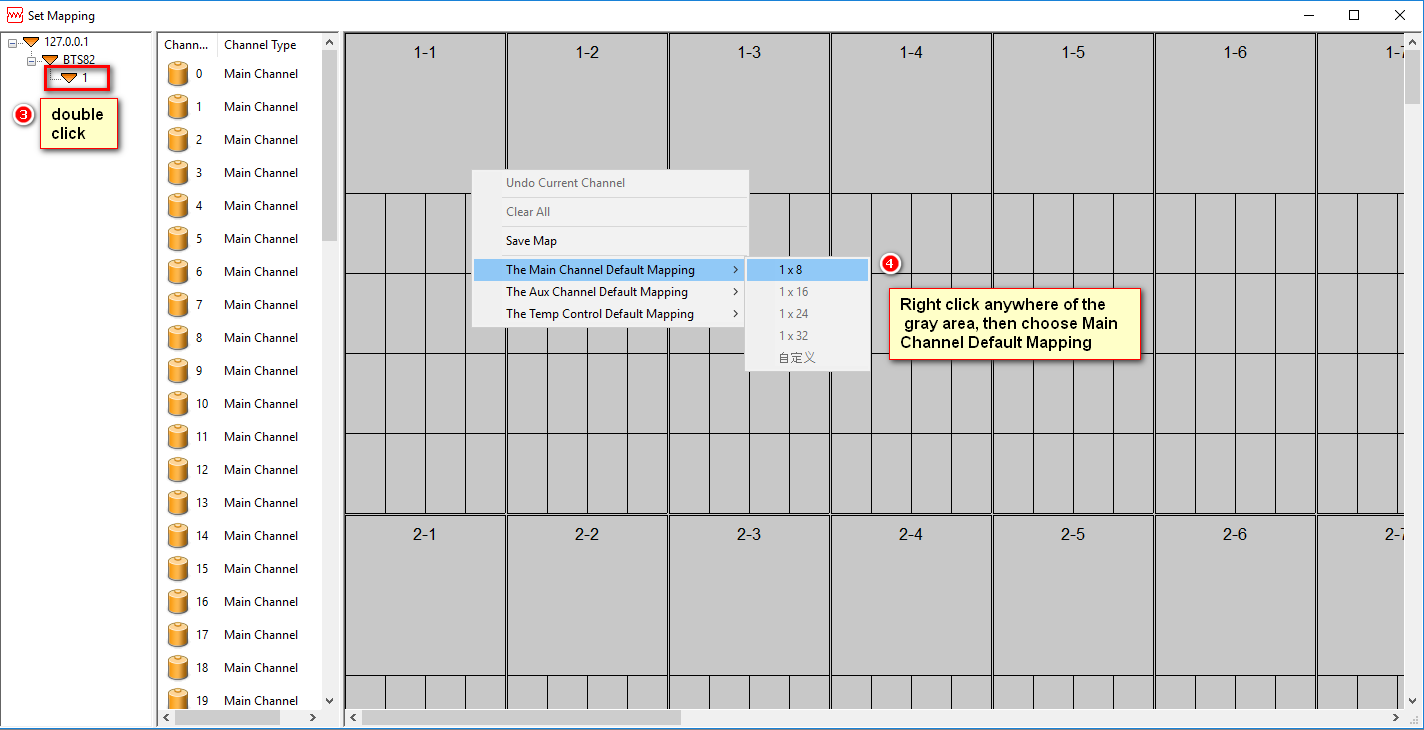
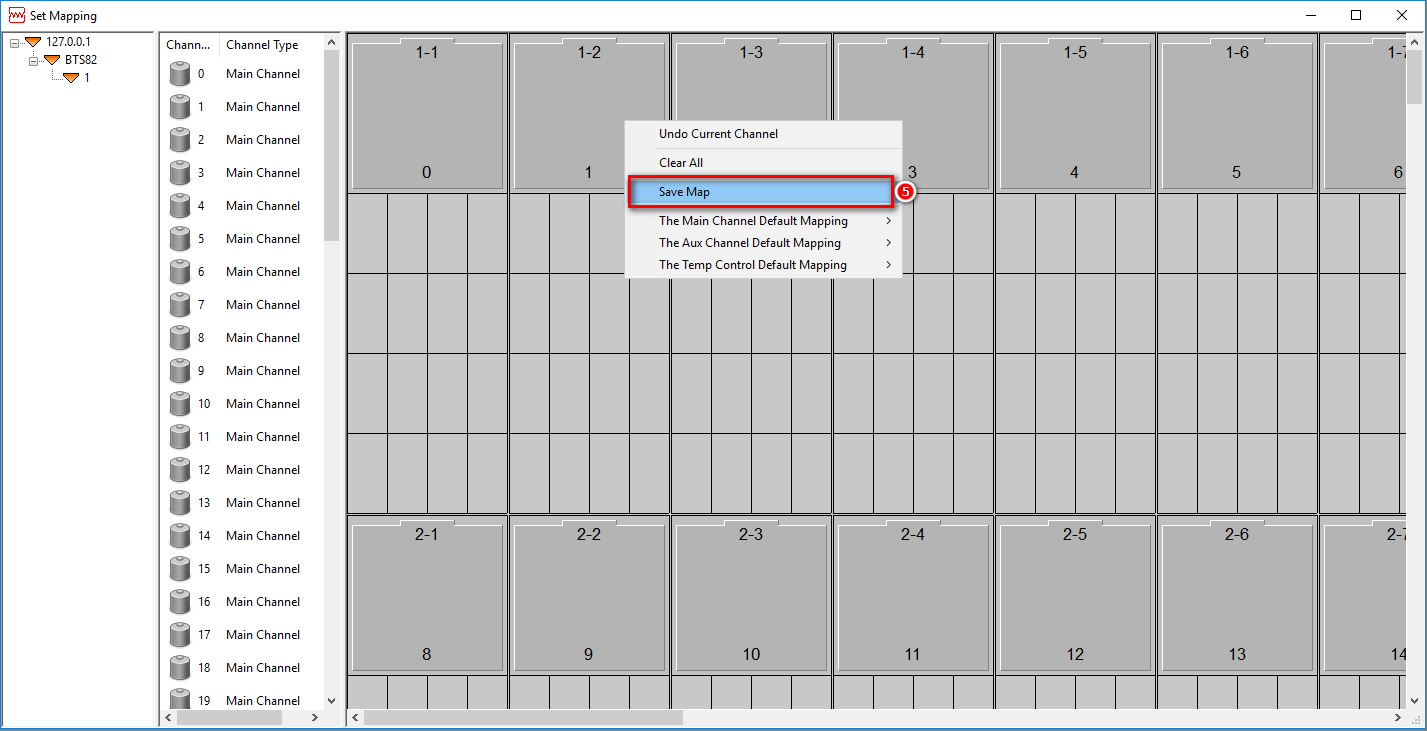
2. Channels mapping.
3. Set up steps.
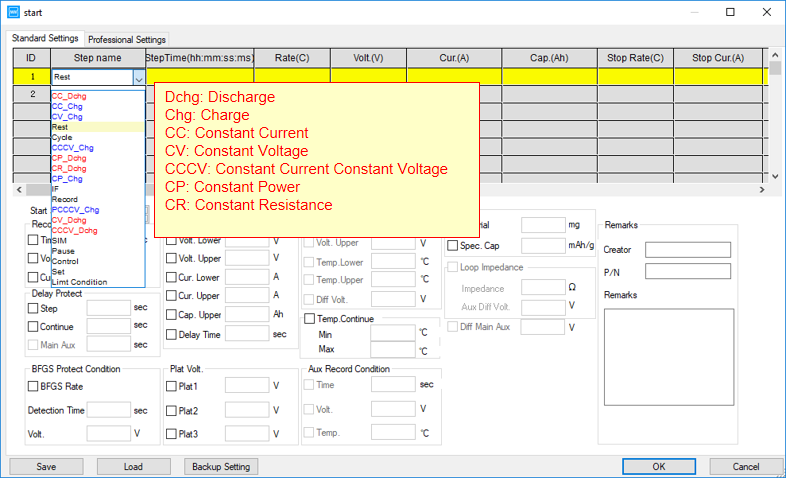
4. Explanation of steps.
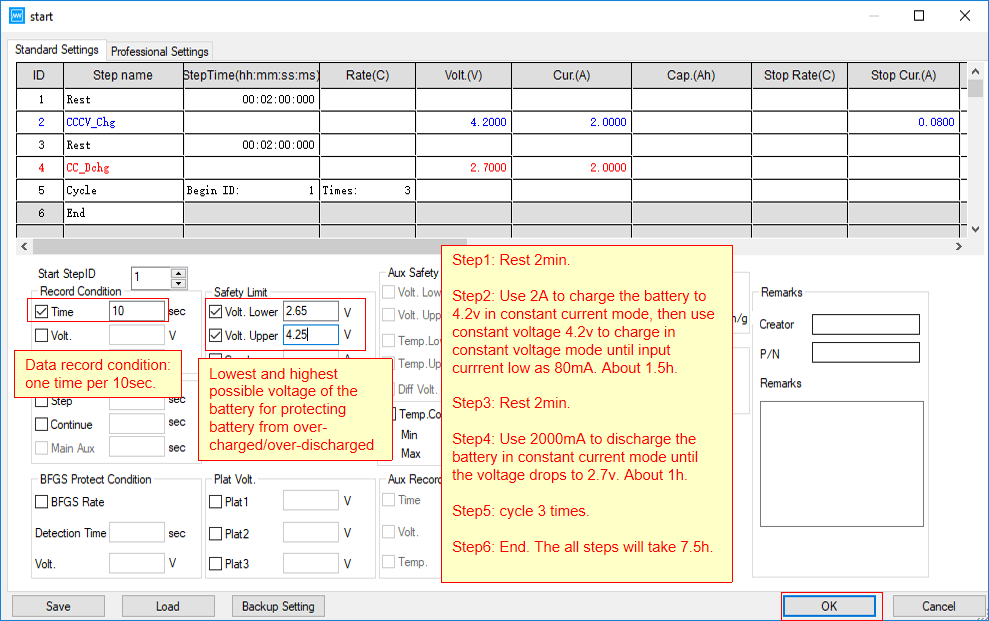
5. Setting up the steps.
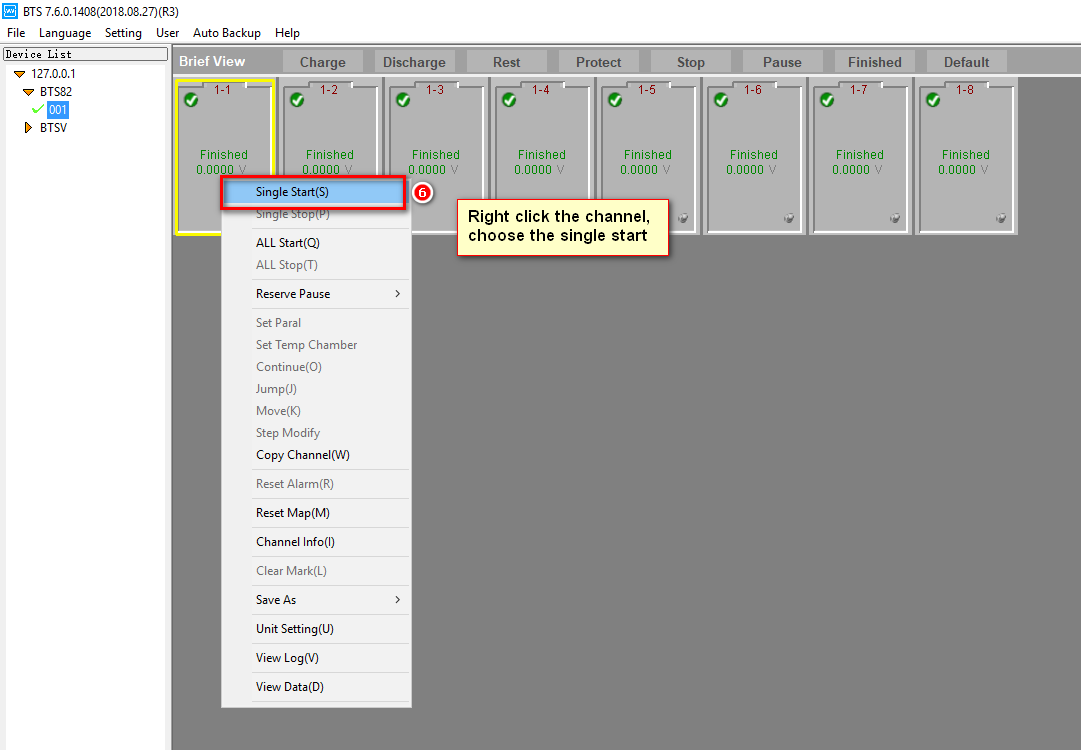
6. Testing.
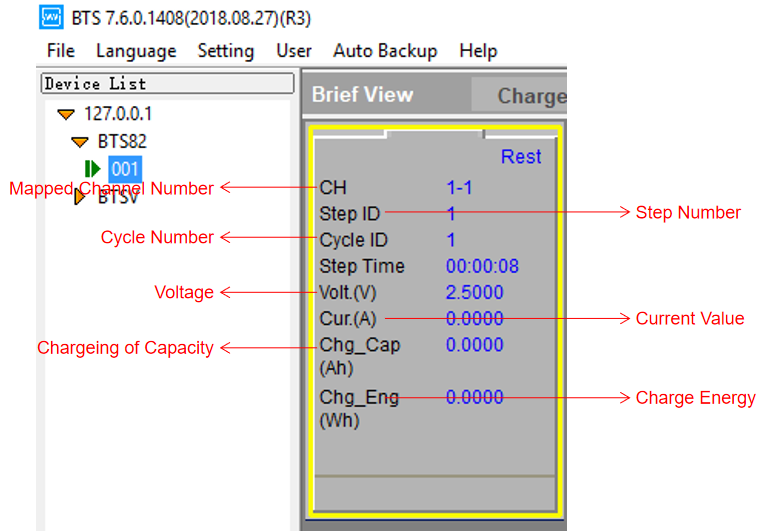
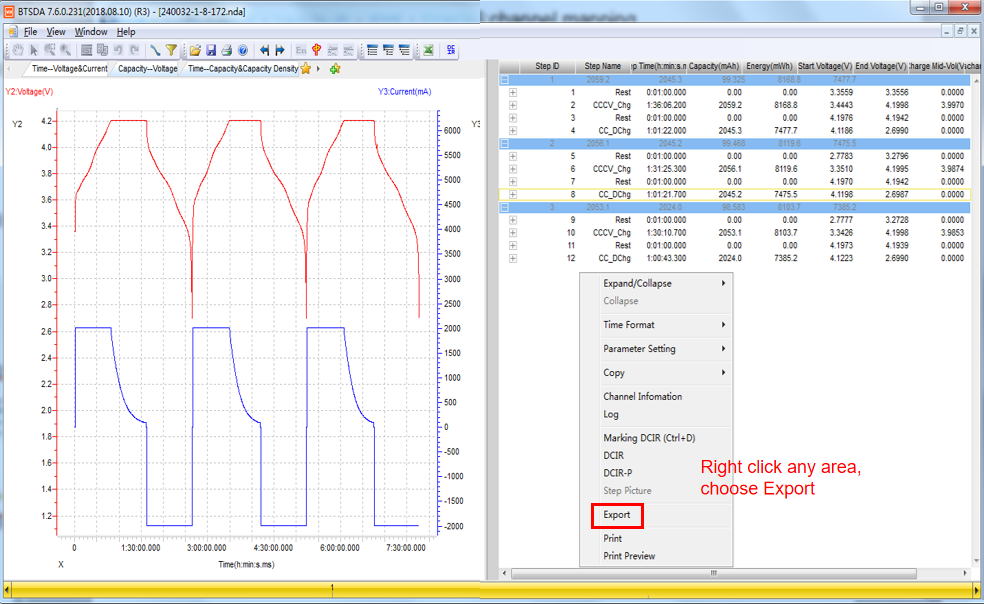
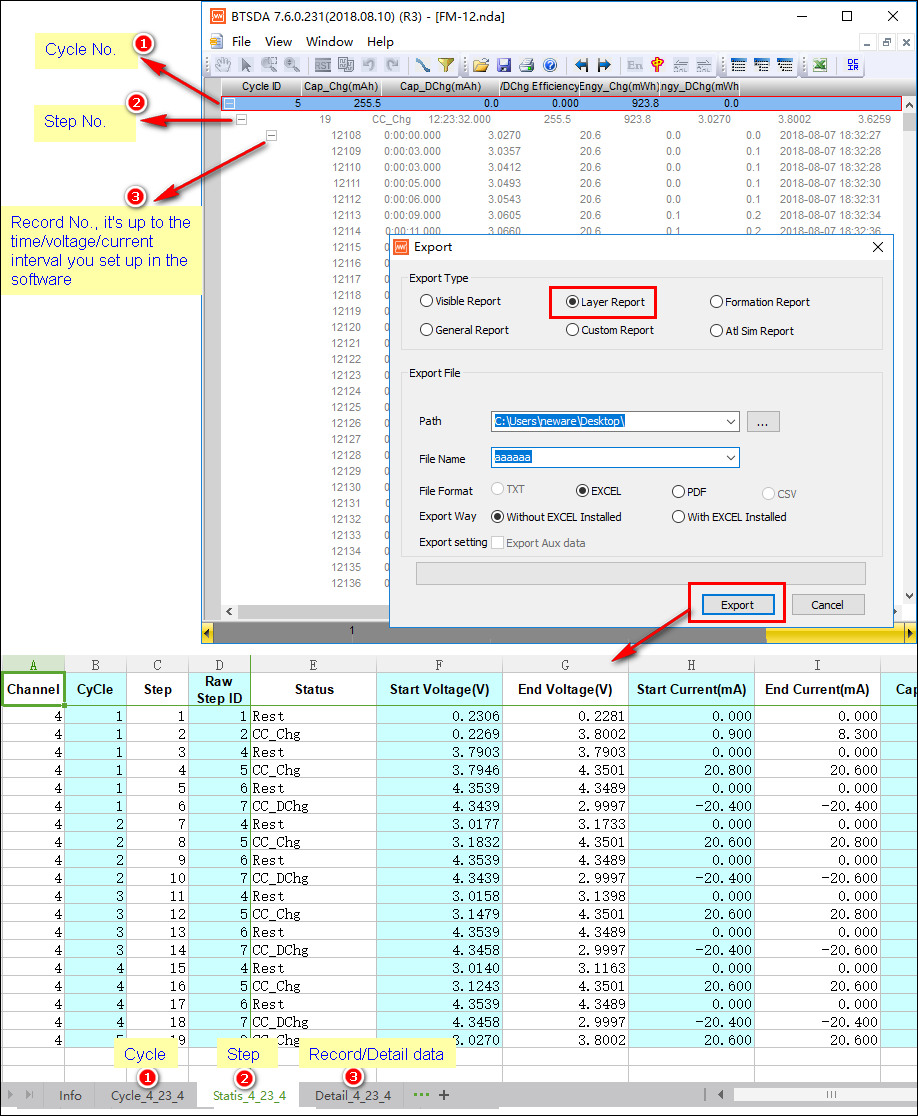
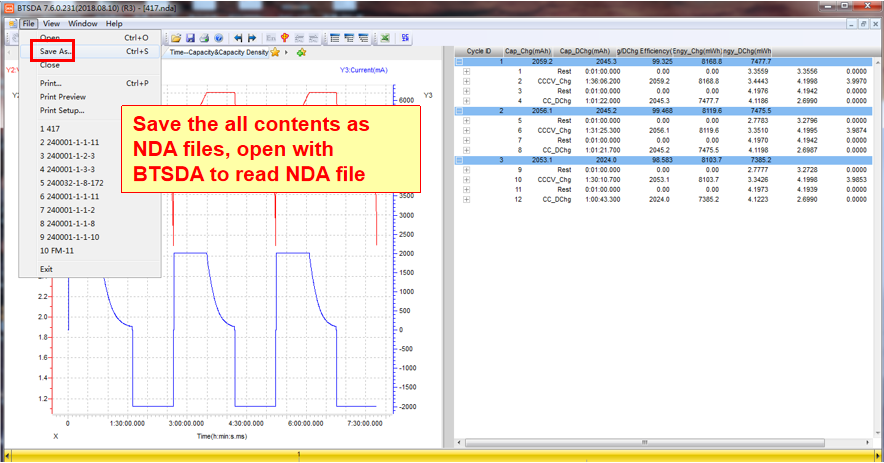
7. View and export data.

Comments are closed.


