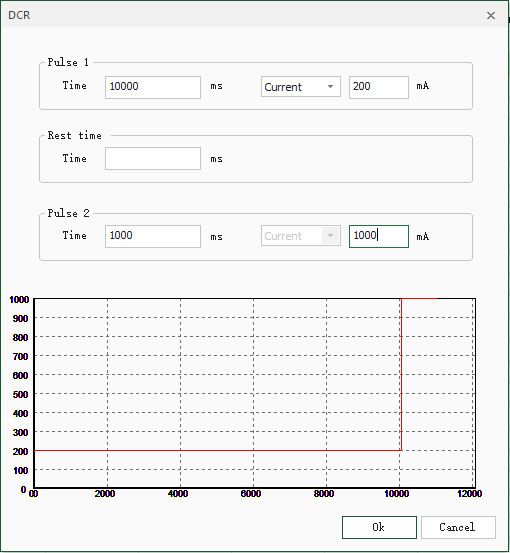
The DCIR function in BTS9(BTS9000 machine) is pretty easy to use. Accroding to the IEC standard, we should use 2 discharge steps together then to get the DCIR values: 0.2C discharge for 10s, and then 1C discharge for 1s.
This is how to use this function in BTS9 software.
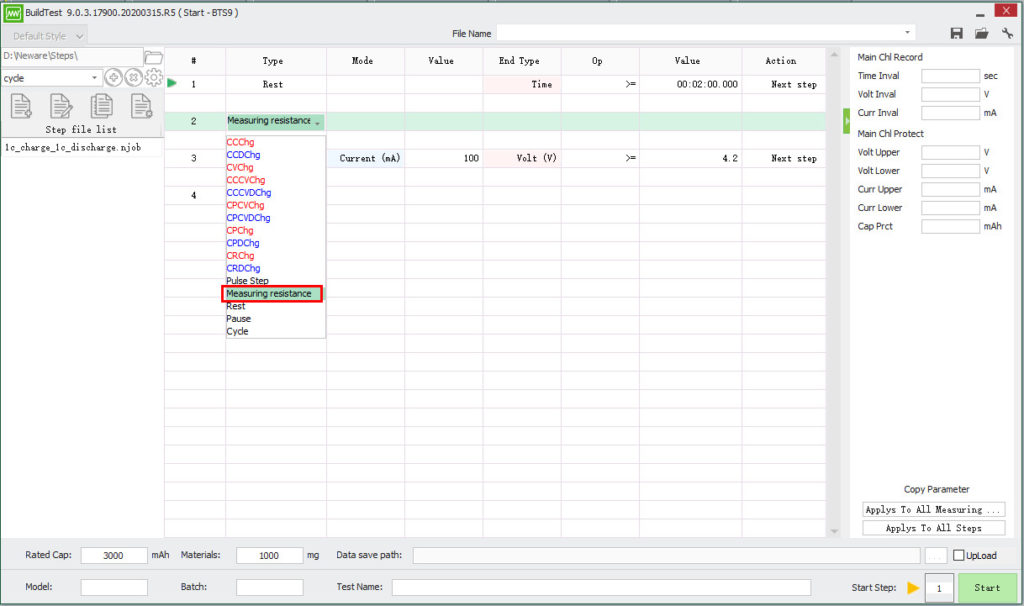
Choose ‘measure resistance’ step from the drop down list, then double click any blank field of this step line, the following window will pop up.
Of course, you are supposed to add other steps for the whole test profile according to your test purpose.
And a typical DCIR plot/curve looks like the picture below. Please download the BTSDA of BTS9 and check the value here for reference.
http://www.newarebattery.com/softwares/DCIR-In-BTS9.zip
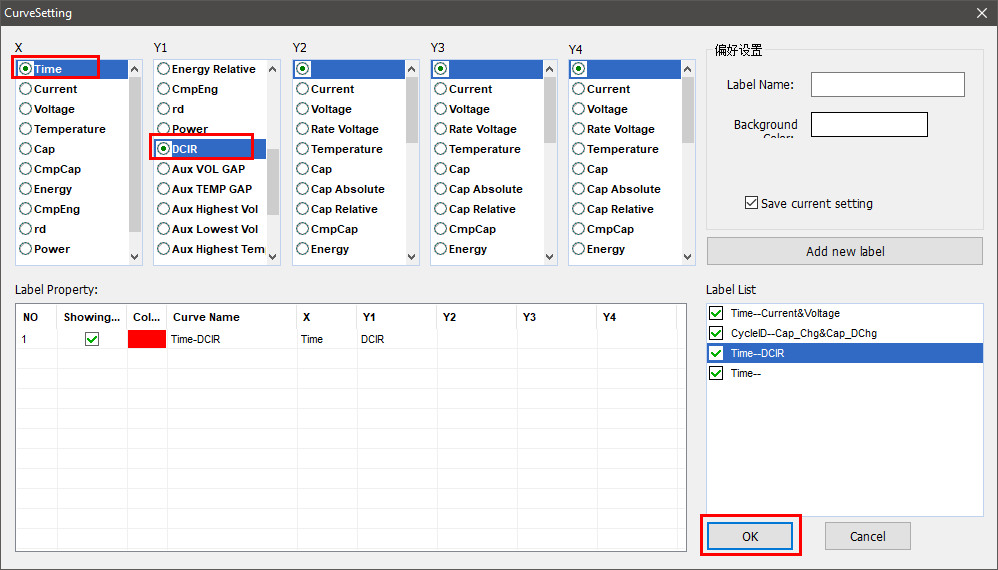
And you can customize a DCIR values plot/graph in Neware BTSDA software, and then you can easily watch the DCIR values change through the time.
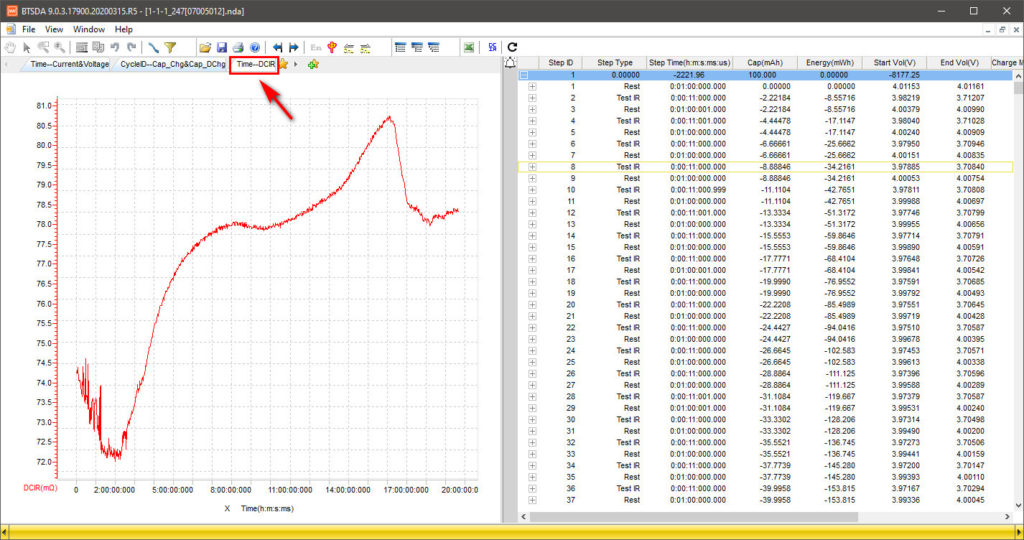
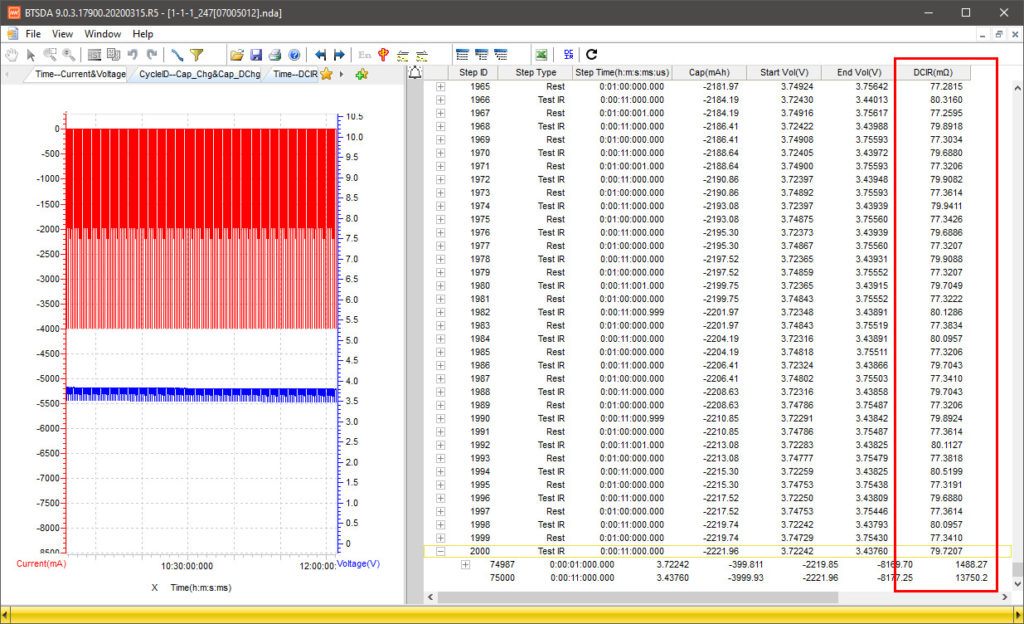
And you can also add a DCIR field directly in the BTSDA software, which looks like the picture below. You can also export the data to xls or txt format and then use it further in tools like Excel, Tableu, Python, etc.
Comments are closed.


